- 介绍
- Nest 项目初始化
- 命令
- 目录
- 运行项目
- Nest 构建 CRUD 项目
- Nest 实现五种 HTTP 数据传输方式
- url param
- query
- form urlencoded
- form data
- json
- Nest 基础
介绍
Nest是 Node 最流行的企业级服务端开发框架,内置并完全支持 TypeScript,提供了 IOC、AOP、微服务等架构特性。
Nest 底层使用 Express 或 Fastify,并做了一定程度的封。Nest 是前端同学尝试全栈开发的不二之选。
Nest 项目初始化
Nest 项目初始化有两种方式:
全局安装脚手架工具
npm install -g @nestjs/cli
nest new xxx
直接使用 npx 安装
npx @nestjs/cli new xxx
安装完成后,控制台输入nest查看可以执行的命令: 
命令
new
用于初始化项目,更多配置可通过添加-h来查看帮助。接下来介绍的命令都可以通过-h来查看帮助。
# -h查看帮助
nest new -h
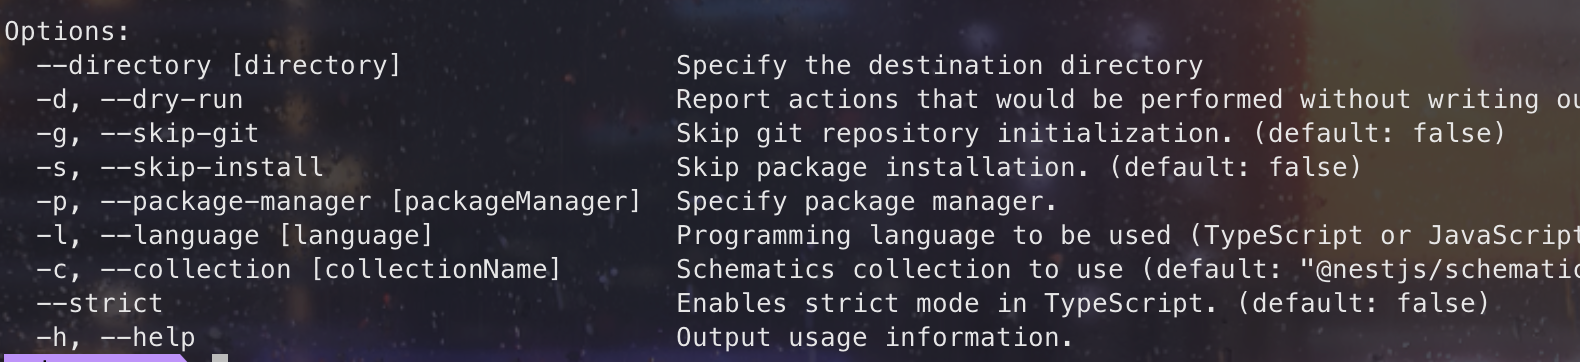
可以看到new命令支持多种选项的设置,通过简写大概大概就能看出他们的意思:
- --directory:指定创建目录
- --skip-git:跳过 git 的初始化
- --skip-install:跳过 npm install
- --package-manager:指定包管理工具,指定后初始化项目时不用选择
- --language:指定语言,默认为 typescript
- --strict:是否开启严格模式
generate
类似于 plop 这种,generate命令可以帮助我们快速生成模板代码,并且自动更新依赖
build
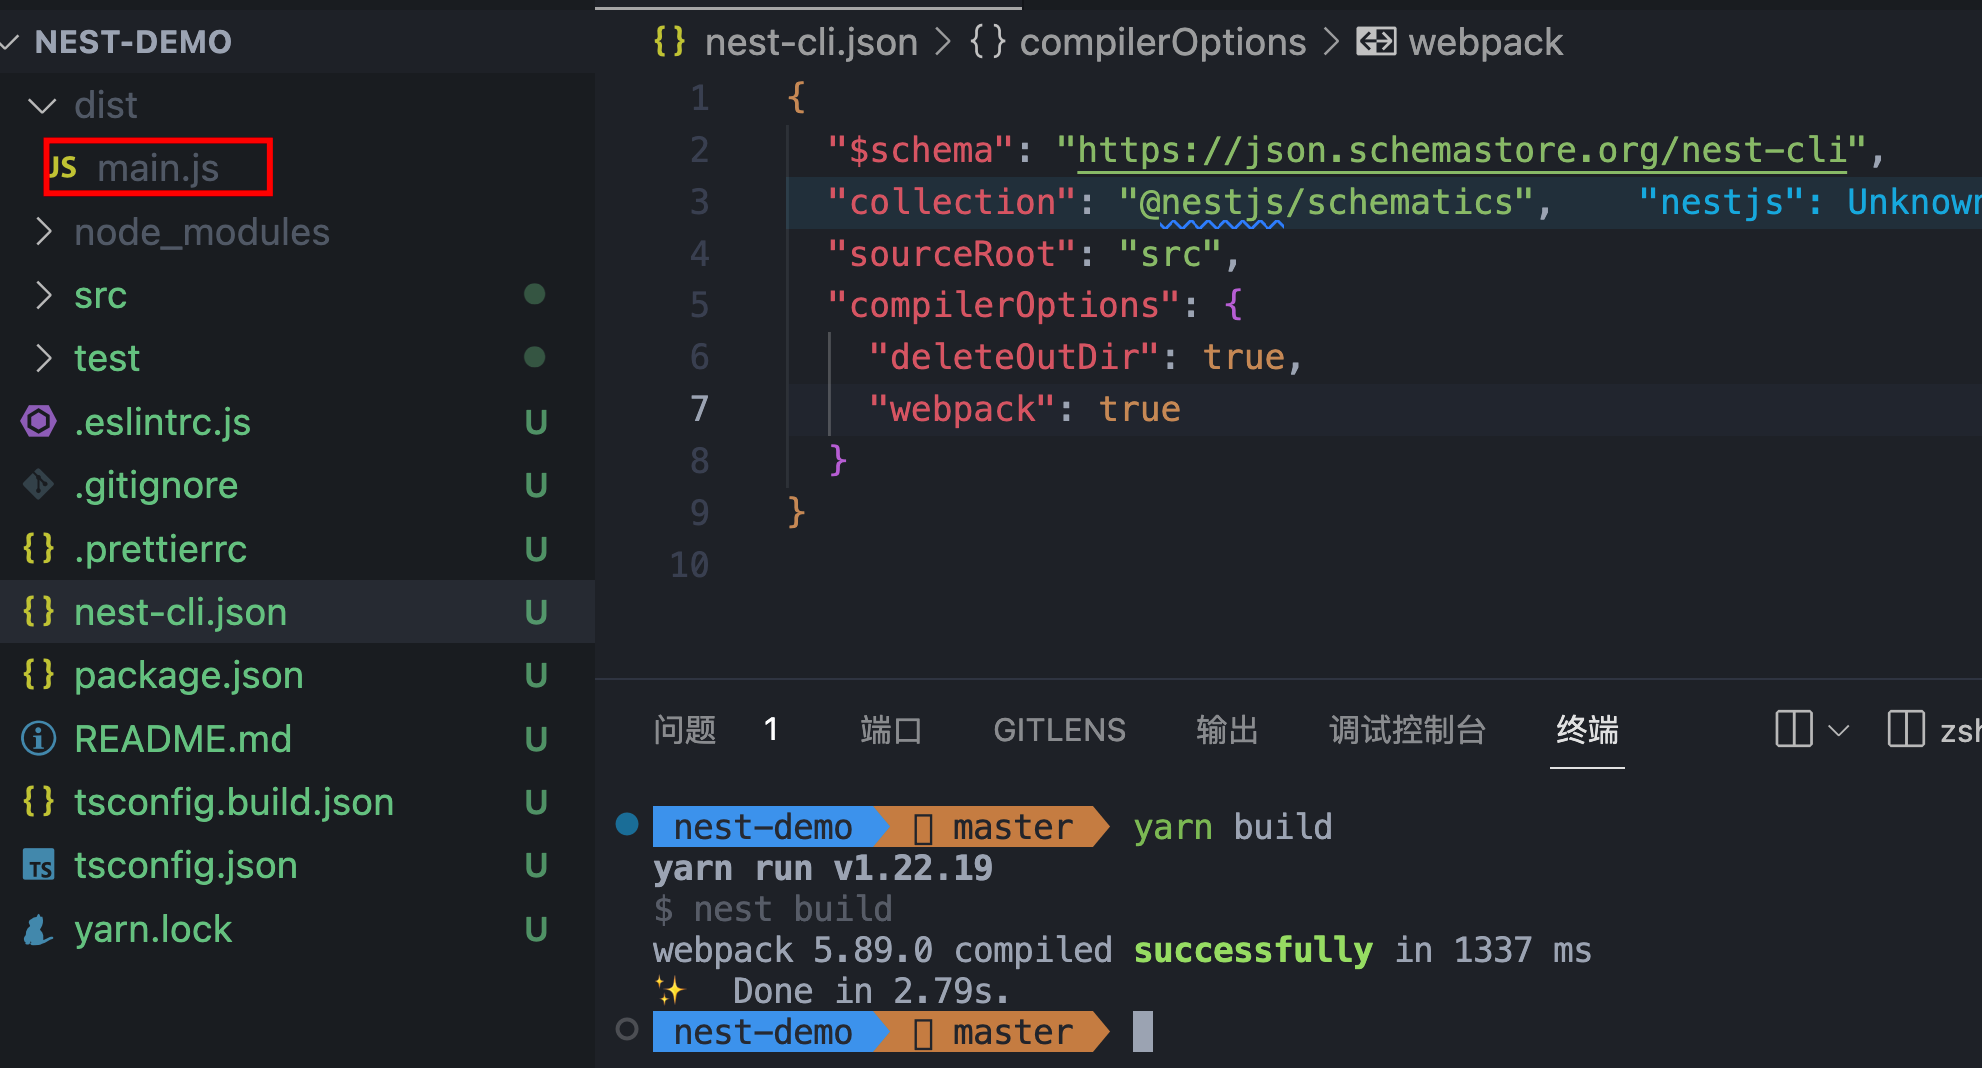
使用 tsc 或者 webpack 构建代码,默认使用 tsc 构建,通过--webpack切换为使用 webpack 进行打包
nest build --webpack
nest-cli.json
项目创建完成后,会生成next-cli.json文件,以上说的选项都可在这里进行配置。
如设置使用 webpack 进行打包,设置"webpack": true即可
{
  "$schema": "https://json.schemastore.org/nest-cli",
  "collection": "@nestjs/schematics",
  "sourceRoot": "src",
  "compilerOptions": {
    "deleteOutDir": true,
    "webpack": true
  }
}
打包结果如下:
start
用于启动开发服务,可以通过--watch启动监听
info
查看项目信息,包括系统信息、 node、npm 和依赖版本

目录
项目初始化完成后,在 src 下存在 5 个文件:
.
├── app.controller.spec.ts
├── app.controller.ts
├── app.module.ts
├── app.service.ts
└── main.ts
main.ts
应用程序的入口文件,使用函数 NestFactory.create(AppModule) 创建 Nest 应用程序实例。
AppModule也就是根模块,可以类比为 Vue 的 App 根组件,NestFactory.create可以类比为 Vue 的createApp
app.module.ts
Nest 应用以模块 Module 为单元,Module 中包含两个核心:控制器和提供者。
App 模块即 Nest 应用的根模块,负责将所有的控制器和提供者组织到一起。
@Module({
  controllers: [AppController],
  providers: [AppService],
})
@Module 是装饰器语法,将 AppModule 类声明为一个模块。
app.controller.ts
App 模块的控制器层代码,用来接收 http 请求,调用服务层 service 处理后,返回响 应数据,对应的 MVC 中的 C 层
@Controller()
export class AppController {
  constructor(private readonly appService: AppService) {}

  @Get()
  getHello(): string {
    return this.appService.getHello()
  }
}
@Controller 装饰器将 AppController 声明为一个控制器 @Get 装饰器声明 getHello 是一个处理 Http 的 GET 请求的方法 @Controller 和 @Get 接收一个字符串用来拼接路由,如 @Controller('hello')和@Get(world)拼接出的路由就是/hello/world。示例代码默认为空,表示根路由/
app.service.ts
App 模块的服务层代码,主要用于处理业务逻辑,对应 MVC 中的 M 层
@Injectable()
export class AppService {
  getHello(): string {
    return 'Hello World!'
  }
}
@Injectable 装饰器将 AppService 声明为提供者
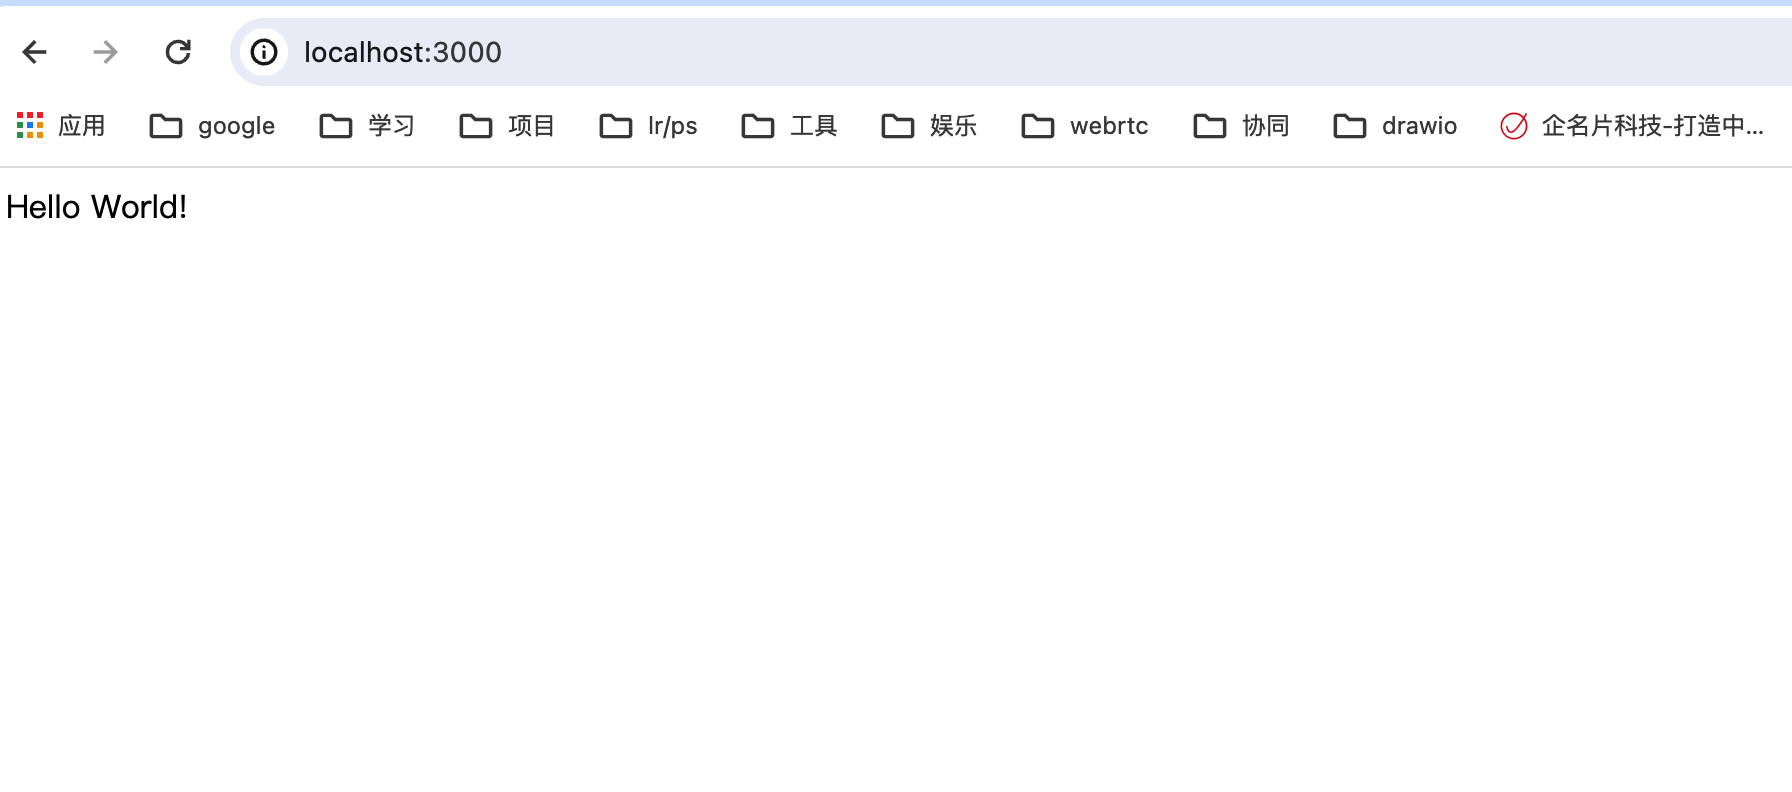
getHello 方法,返回字符串Hello, World!,在控制器 AppController 调用此方法,最终这个字符串返回给到浏览器。
运行项目
此时,我们通过npm run start启动项目,在浏览器中输入 localhost:3000 如下:
我们可以试着修改 AppController 中,添加不同的路由:
// app.controller.ts
@Controller()
export class AppController {
  constructor(private readonly appService: AppService) {}

  @Get()
  getHello(): string {
    return this.appService.getHello()
  }
  @Get('/random')
  getNum(): number {
    return this.appService.getNum()
  }
}
// app.service.ts
@Injectable()
export class AppService {
getHello(): string {
return 'Hello World!'
}
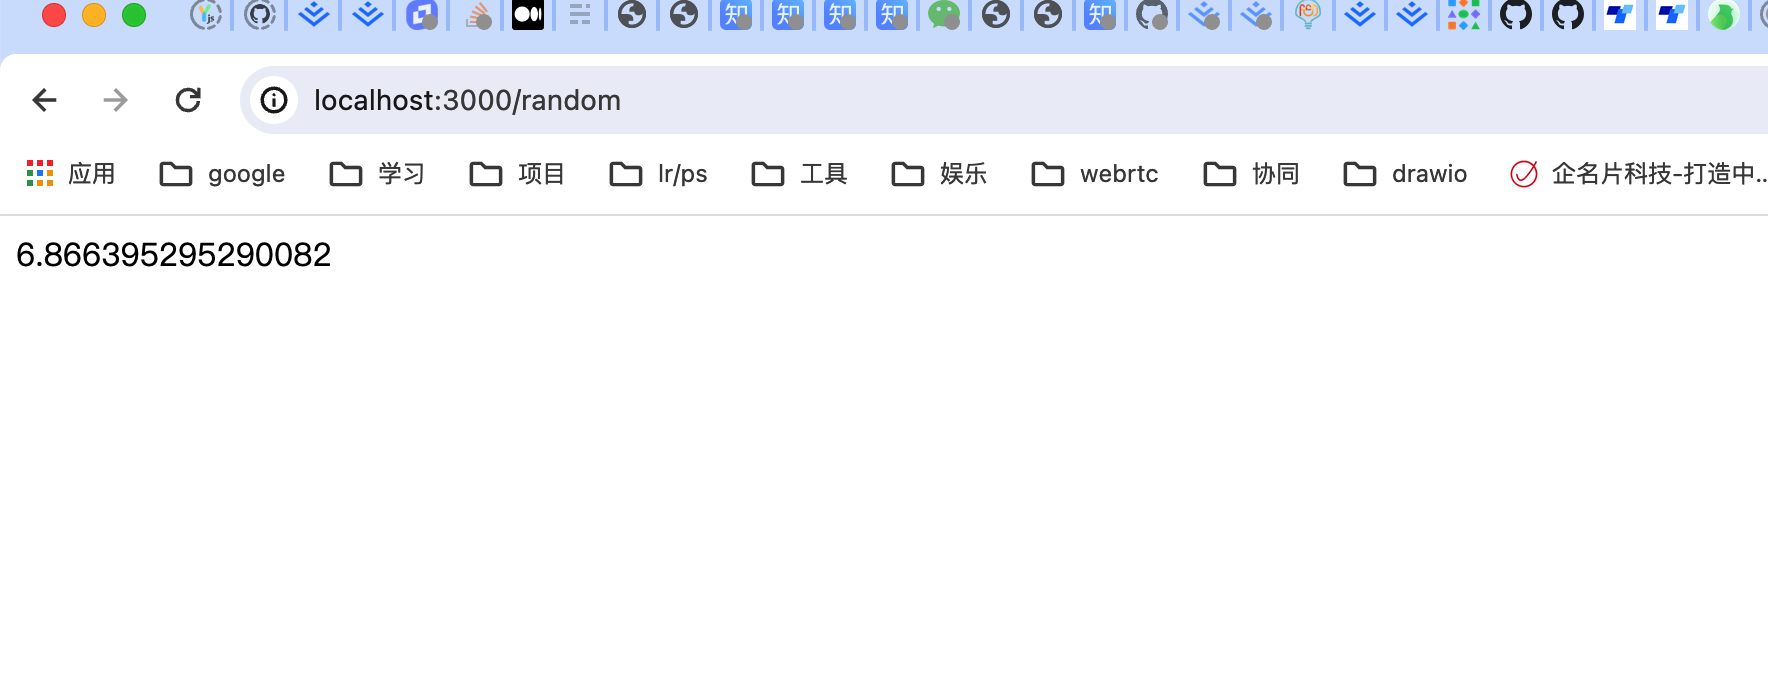
getNum(): number {
return Math.random() * 10
}
}
此时需要重新运行项目(更新不会立即生效,需要更新立即生效时使用npm run start:dev启动项目)
再次访问localhost:3000/random,如下
Nest 构建 CRUD 项目
通过一个基础的 CRUD 项目来了解 Nest 的核心原理。
Nest 实现五种 HTTP 数据传输方式
通过 generate 来快速创建 crud 模版代码:
nest generate resource person
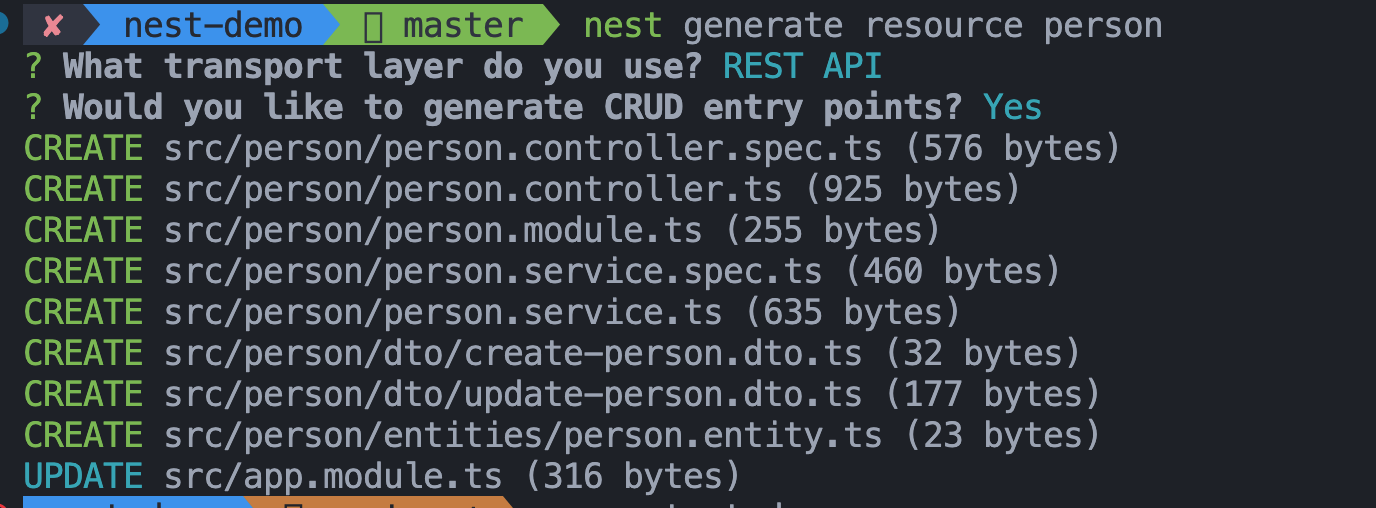
接着执行 npm run start:dev 来启动项目,一个简单的 crud 项目就启动了,在控制台打印中可以看到有这些接口可以使用:

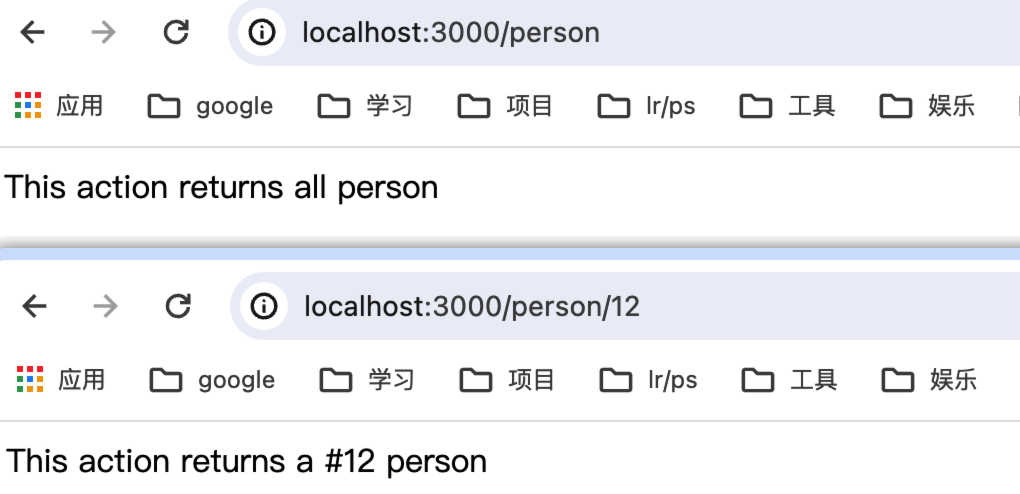
get 请求我们可以直接在浏览器中进行测试:
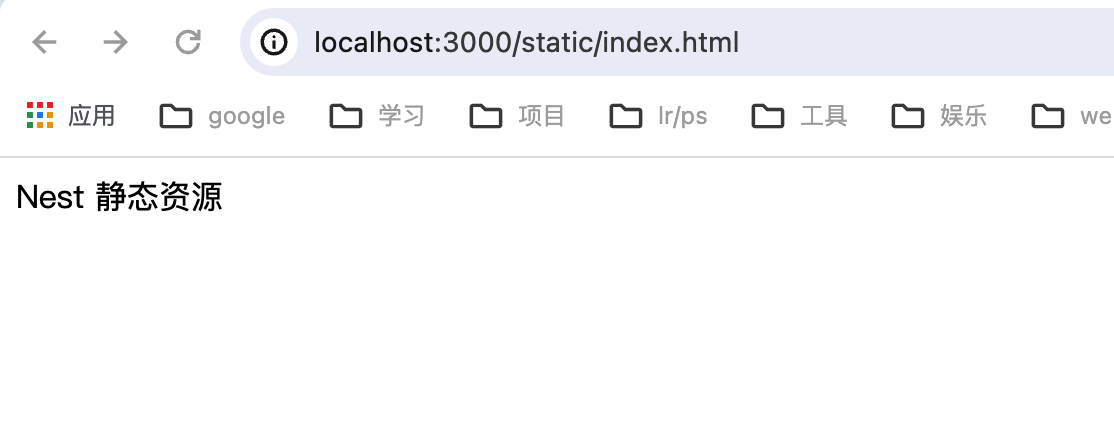
访问静态资源
如果想访问静态资源,需要在 main.ts 中进行设置
async function bootstrap() {
  const app = await NestFactory.create<NestExpressApplication>(AppModule)
  app.useStaticAssets('public', { prefix: '/static' })
  await app.listen(3000)
}
bootstrap()
接着在静态文件目录 public 下添加 index.html 文件,访问 http://localhost:3000/static/index.html 如下:
url param
url param 就是将 url 直接写在 url 上,比如 http://localhost:3000/api/person/12,其中 12 就是路径中的参数(url param)
在 Nest 中通过 @Get(':id') 和 @Param('id') 配合拿到它。
如上面创建的person模块中:
@Get(':id')
findOne(@Param('id') id: string) {
  return `received id: ${id}`;
  // return this.personService.findOne(+id);
}
此时我们在浏览器地址栏直接输入 http://localhost:3000/api/person/12,便会得到以下结果: 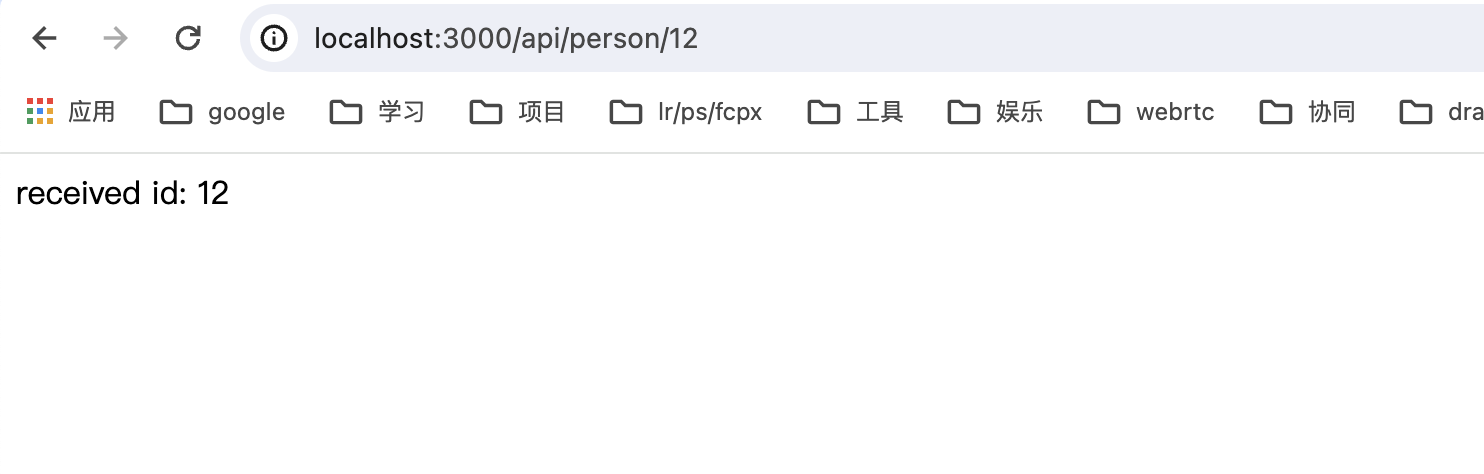
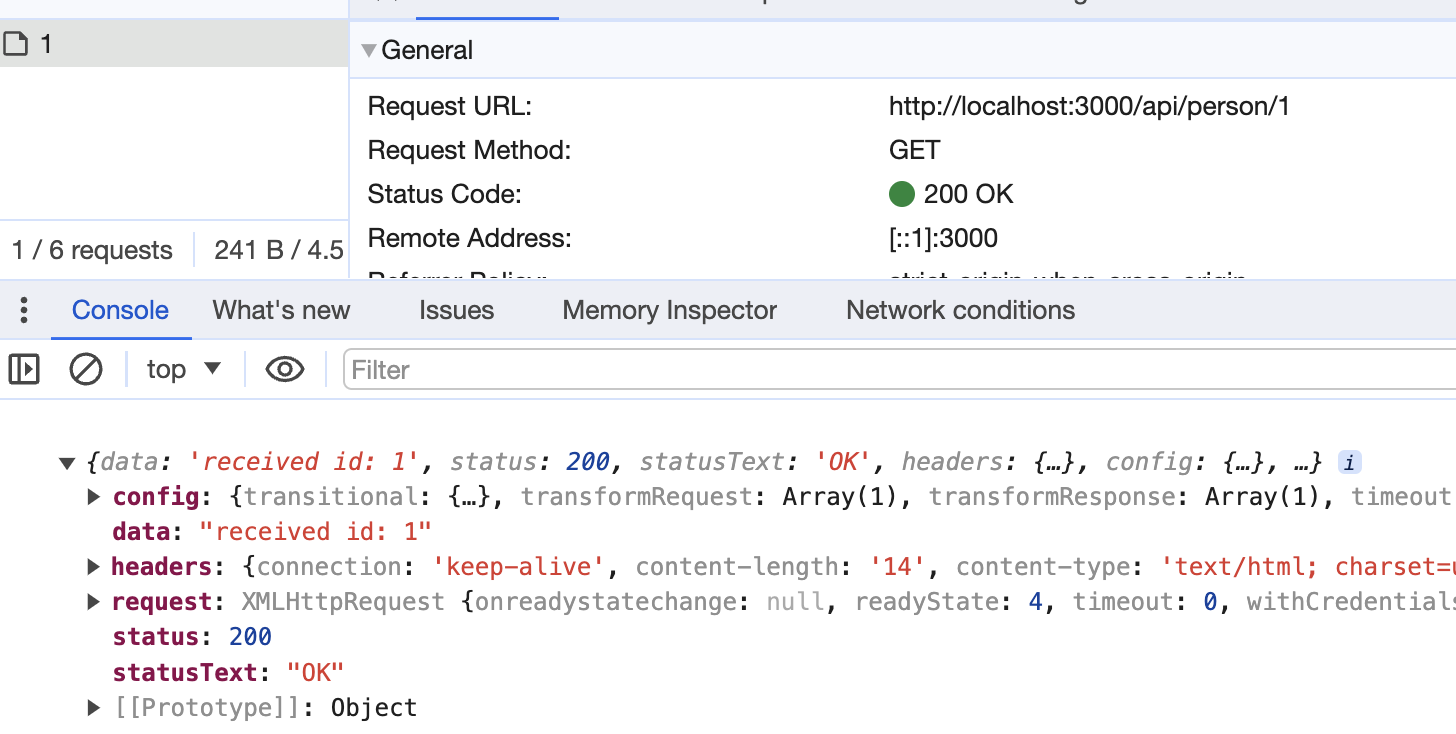
或者在静态资源 /public/index.html 中通过 http 请求:
async function urlParam() {
  const res = await axios.get('/api/person/1')
}
urlParam()
结果如下:
query
query 同样是通过 url 来传递参数,通过 url 中 ?后面的用 & 分隔的字符串传递数据,比如 http://localhost:3000/api/person/find?name=li&age=12。
在 Nest 中通过 @Query() 可以获取到传递的参数。
@Get('find')
find(@Query('name') name: string, @Query('age') age: number) {
  return `received: name=${name},age=${age}`;
}
@Get(':id')
findOne(@Param('id') id: string) {
  return `received id: ${id}`;
}
注意,我们新添加的 find 路由要放到 :id 路由的前面,因为 Nest 是从上往下匹配的,如果放在后面,那匹配的就是 :id 的路由。
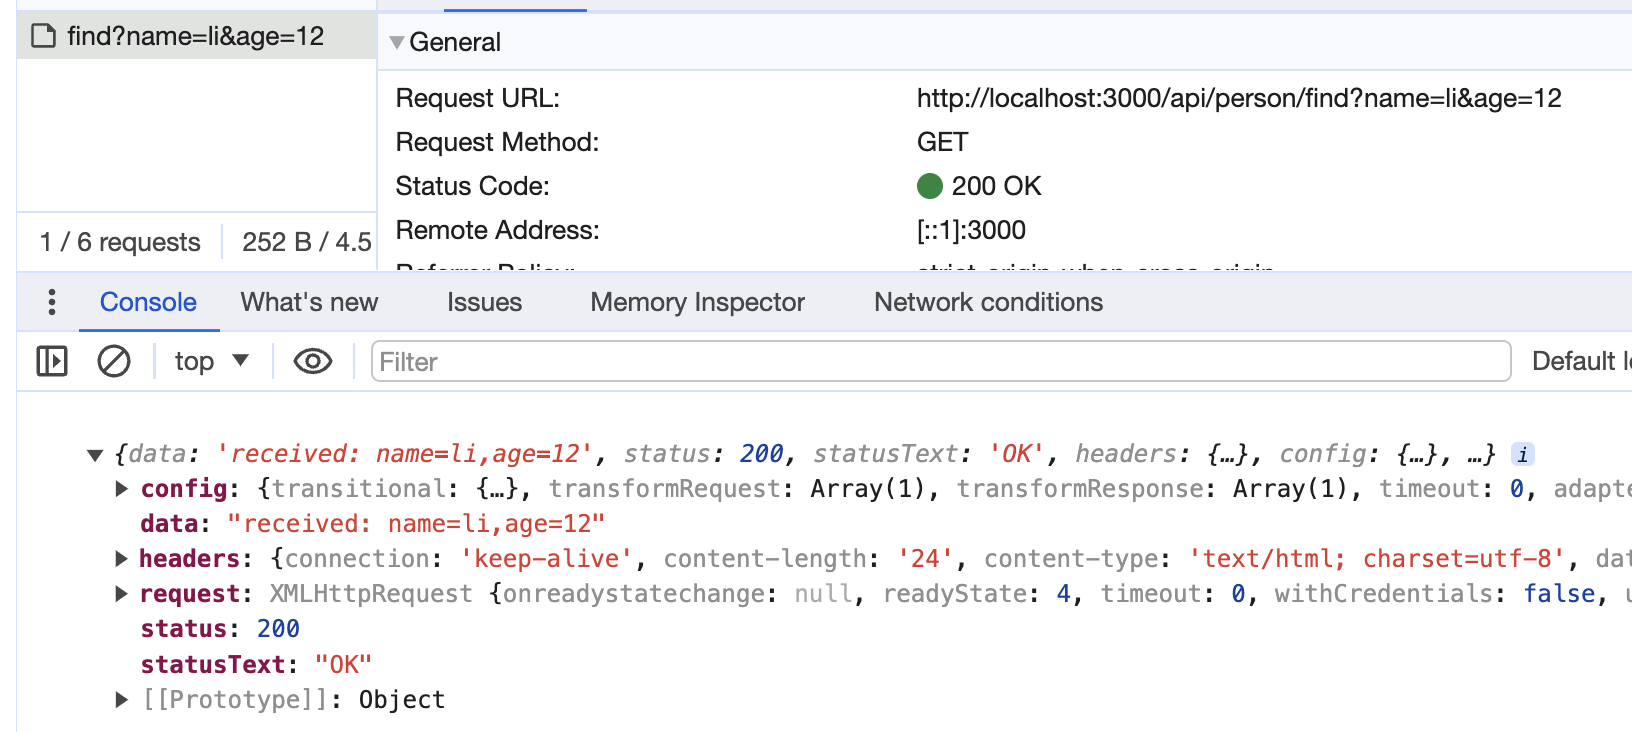
此时我们可以直接通过 url 访问 http://localhost:3000/api/person/find?name=li&age=12 或者构造 http 请求:
async function query() {
  const res = await axios.get('/api/person/find', {
    params: {
      name: 'li',
      age: 12,
    },
  })
}
query()
结果如下:
form urlencoded
前面两种都是 get 请求,将传递的参数存放在 url 中,而接下来的几种数据传输方式都是 post 请求,将传递的参数存放在 body 中。
form urlencoded 是通过表单提交数据,就是将 query 的数据放在 body 中发送 post 请求提交。
通过表单提交的数据,会以 application/x-www-form-urlencoded 的格式提交,Nest 中可以通过 @Body() 解析请求体,注入到 dto 中,dto 就是 data transfer object,即封装传输数据的对象。
export class CreatePersonDto {
  name: string
  age: number
}
@Post()
body(@Body() createPersonDto: CreatePersonDto) {
  return `received: ${JSON.stringify(createPersonDto)}`;
}
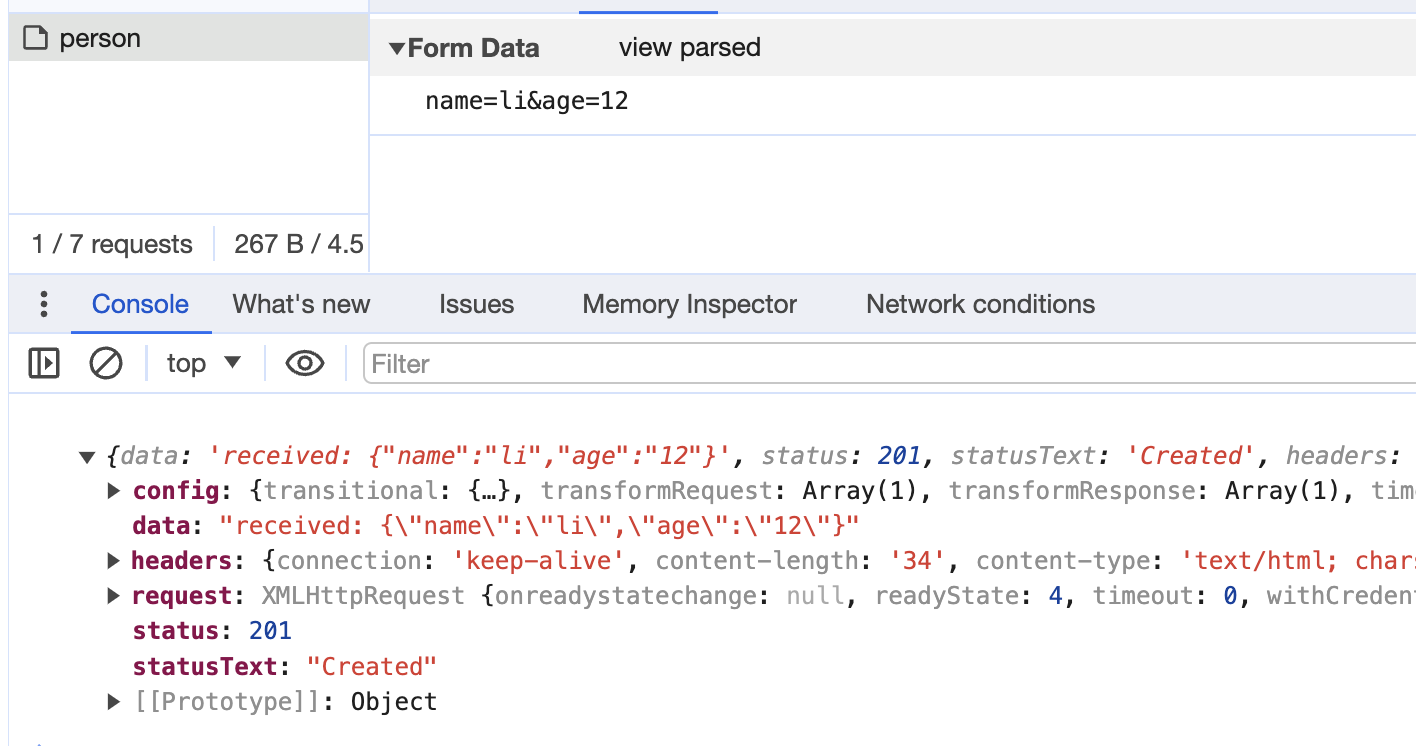
构造 http 请求:
async function formUrlEncoded() {
  const res = await axios.post(
    '/api/person',
    Qs.stringify({
      name: 'li',
      age: 12,
    }),
    {
      headers: { 'content-type': 'application/x-www-form-urlencoded' },
    }
  )
}
formUrlEncoded()
结果如下:
form data
form data 大多用于传输文件,axios 中需要指定 content type 为 multipart/form-data,并且用 FormData 对象来封装传输的内容。
Nest 中要使用 FilesInterceptor 来处理其中的 binary 字段,用 @UseInterceptors 装饰器启用,配置 dest 为上传文件的目录,然后通过 @UploadedFiles 来读取,其余非文件字段用 @Body 来读取。
@Post('file')
@UseInterceptors(AnyFilesInterceptor({
  dest: 'uploads/'
}))
body2(@Body() createPersonDto: CreatePersonDto, @UploadedFiles() files: Array<Express.Multer.File>) {
  return `received: ${JSON.stringify(createPersonDto)}`
}
构造 http 请求:
<input id="fileInput" type="file" multiple />
<script>
  const fileInput = document.querySelector('#fileInput')

  async function formData() {
    const data = new FormData()
    data.set('name', 'li')
    data.set('age', 12)
    data.set('file1', fileInput.files[0])
    data.set('file2', fileInput.files[1])

    const res = await axios.post('/api/person/file', data, {
      headers: { 'content-type': 'multipart/form-data' },
    })
  }

  fileInput.onchange = formData
</script>
结果如下:
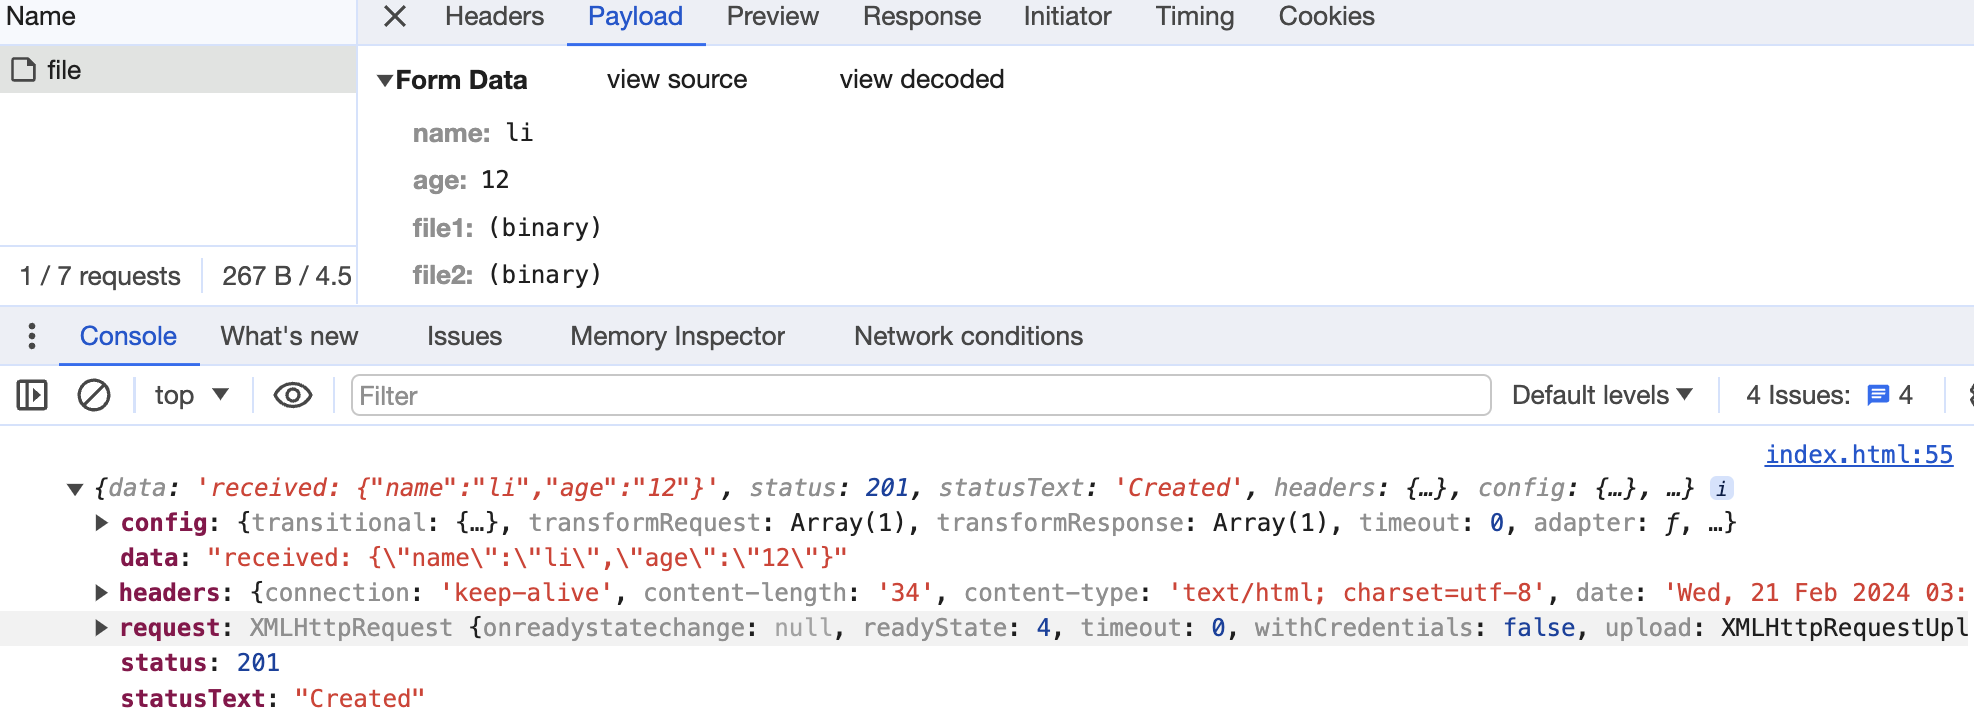
服务端成功接收到我们上传的文件,并且保存在配置的 dest 目录中:

json
json 格式应该是最为常用的了,直接将 json 数据作为请求体发送,Nest 中通过 @Body() 来解析请求体,注入到 dto 中。
form urlencoded 和 json 都是从 body 取值,Nest 内部会根据 content type 做区分,使用不同的解析方式。
@Post()
body(@Body() createPersonDto: CreatePersonDto) {
  return `received: ${JSON.stringify(createPersonDto)}`
}
构造 http 请求:
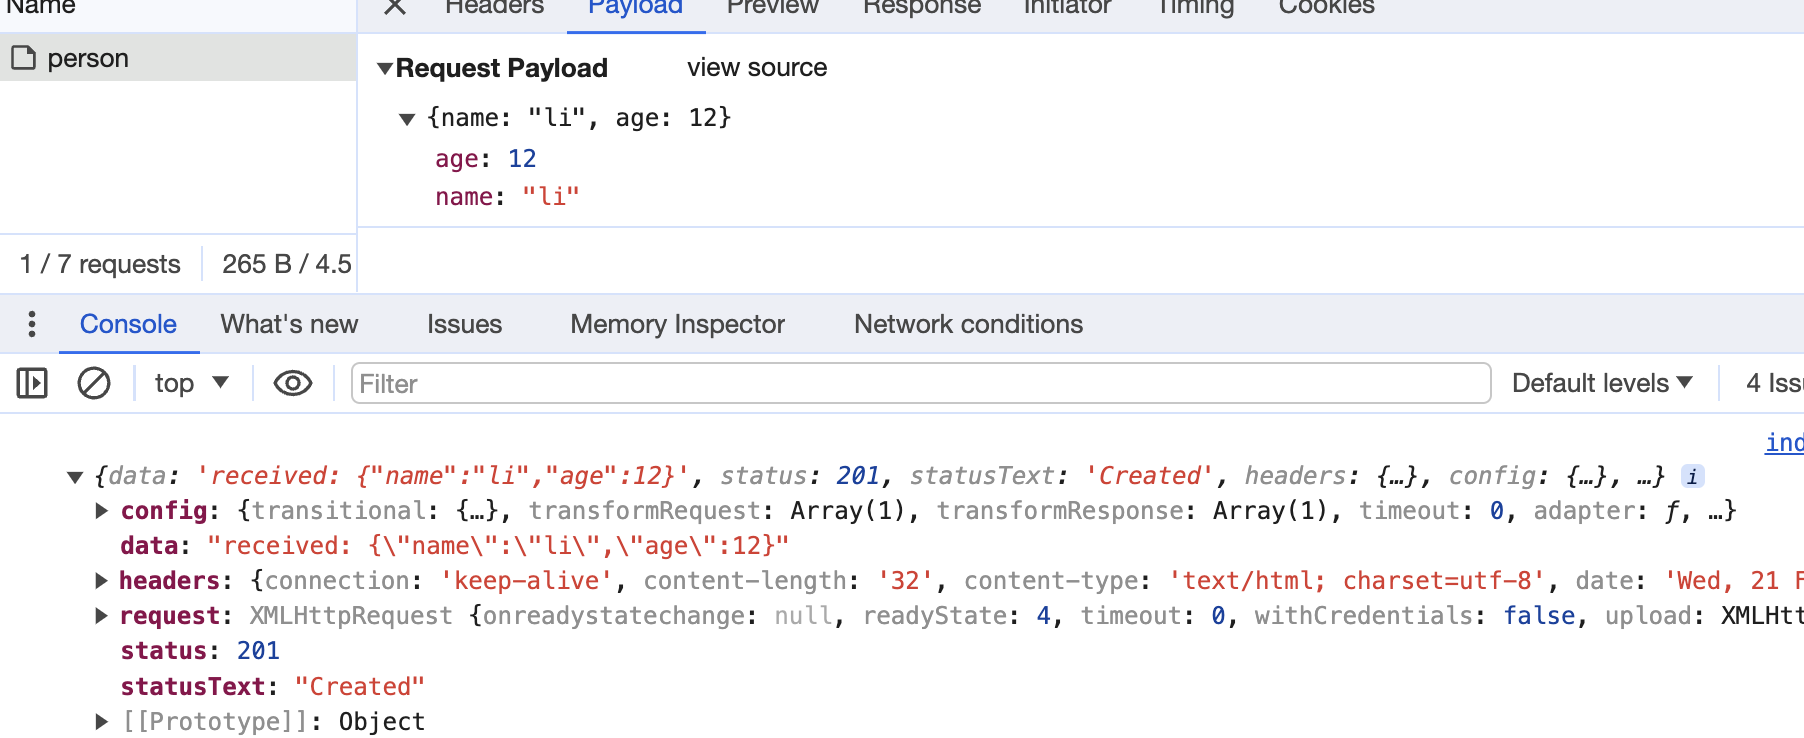
async function json() {
  const res = await axios.post('/api/person', {
    name: 'li',
    age: 12,
  })
}
json()
结果如下:
这 5 种 http 的传输数据的方式覆盖了绝大多数开发场景,如果你想进阶全栈,理解这 5 种接口是首先要做到的。
Nest 基础
京ICP备2022027737号
Copyright © 2022 - present @wangxiang